I
have recently upgraded from the Dimage 7 (which I will be keeping for infra red
) to the Dimage A1 and below you will find initial findings and images. With the
exception of the night image all images were hand held. For the telephoto pics
I have deliberately used slower shutter speeds where applicable to test the anti-shake
function. I mainly use the manual method of exposure. The extra galleries above
will have extra images and larger versions of the pictures. I am finding the A1
much faster to use than the basic Dimage 7 which I have been using extensively
over the past year or so. Most images saved in the camera as super fine Jpeg's.
They are then saved in PS as tif's.
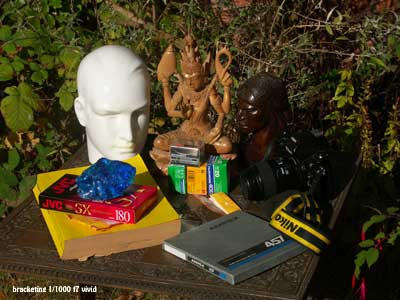
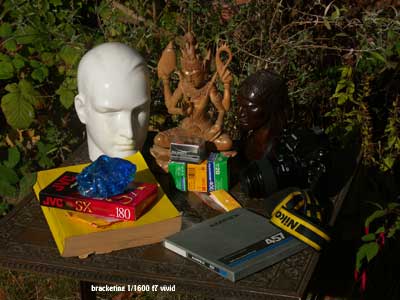
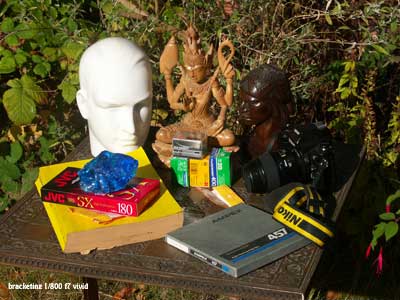
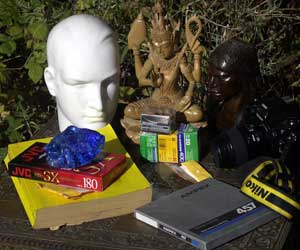
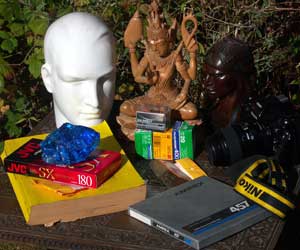
The
bracketing was pretty quick however it is limited to .5 EV . I would have liked
it to have it extended to 1 EV either way. Vivid colour was used for these images.
ASA 100.
80mm
1/250 f7 - adobe RGB - low contrast
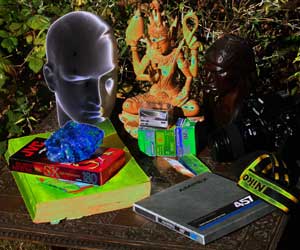
80mm
1/250 f7 - vivid colour - low contrast
80mm
1/250 f7 - solarization - low contrast
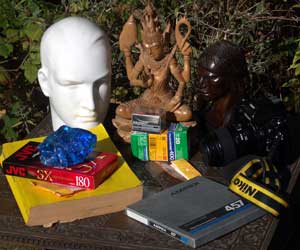
80mm
1/250 f7 - natural - low contrast
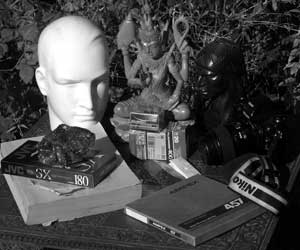
80mm
1/250 f7 - bw setting - low contrast
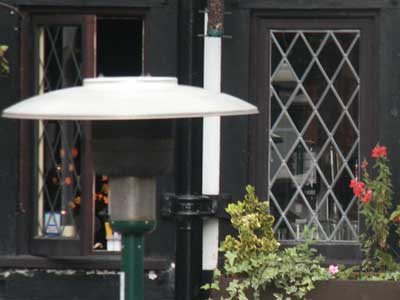
image
on left corrected in Photoshop
1/125
f4 200mm with 1.54 conv Dimage 7
50%
magnification on original
1/125
f4 200mm with 1.54 conv adobe srgb
50% magnification on original
200mm
with x1.54 conv - 1/20 f6.3 - sRGB
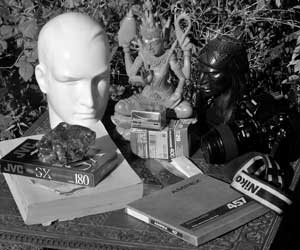
The
six images on the left show examples of the custom colour modes of the A1. Vivid
can sometimes give results similar to Velvia film.
160
% magnification of original . Moving target.
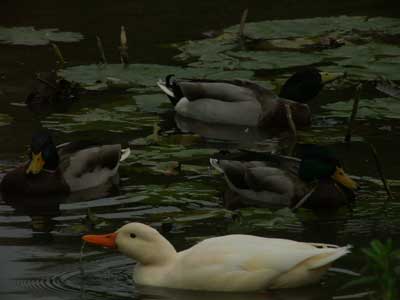
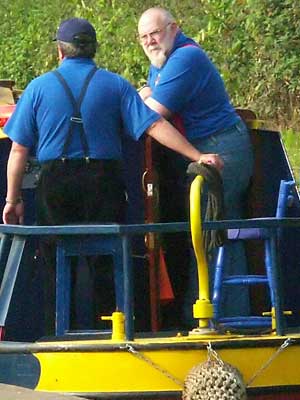
200mm
with x1.54 converter 1/100 f11. Anti-Shake on.Vivid colour mode
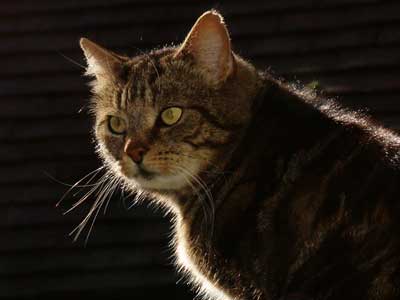
130mm
1/800 f10 small amount of flash - filtered in Neat Image. 50% magnification.
170mm
with 1.54 converter cropped 1/2000 f9
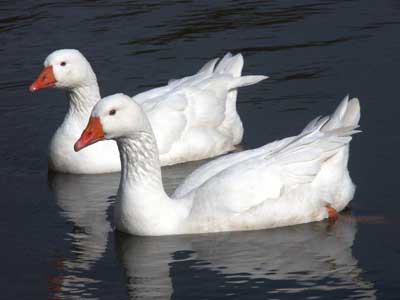
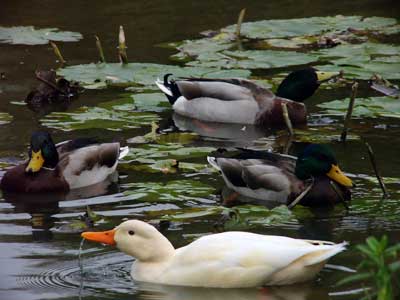
200mm
with1.54 converter 1/320 f11 100asa
120mm
with 1.54 conv cropped 1/640 f7
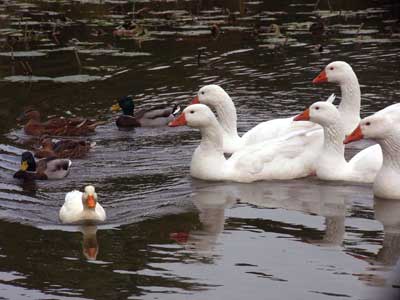
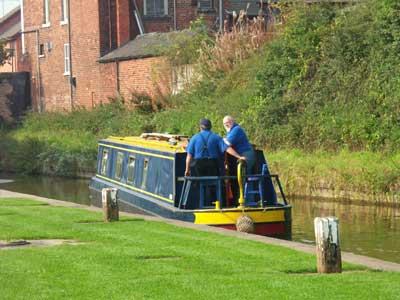
185mm
with 1.54 conv 1/1000 f7
After
Neat Image treatment for some noise a curves adjustment layer in PS brings back
all the detail.
200mm
with 1.54 conv 1/800 f7 - underexposed original
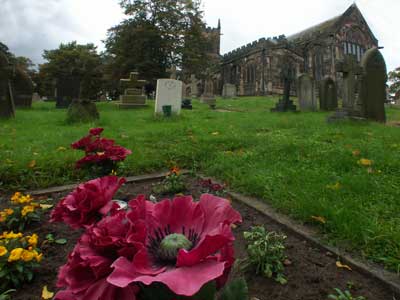
28mm
with Raynox.66 wide angle conv. 1/100 f10 .cropped to get rid of vignetting.
166
mm 1/1000 f 8 400 asa some noise cleaned by Neat Image.
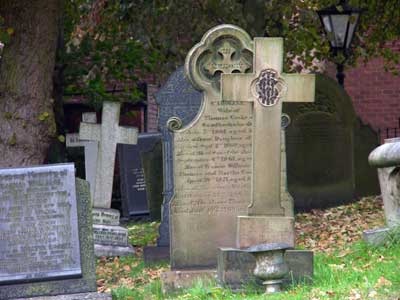
The
blowup on the left from the original is helped by the Neat Image treatment.
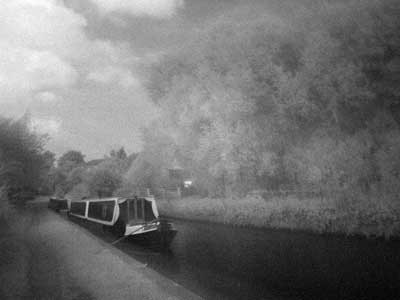
The
A1 has a strong infra red inhibitor aboard so unlike the Dimage 7 infra red images
are more difficult. The above was 1 sec at f2.8 (400asa) in sunshine with a Hoya
72 filter! Tripod is essential.
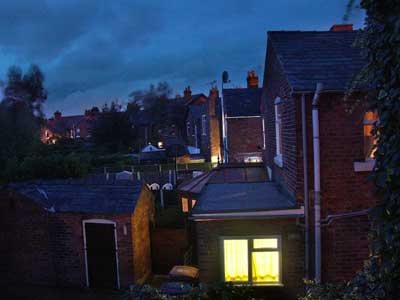
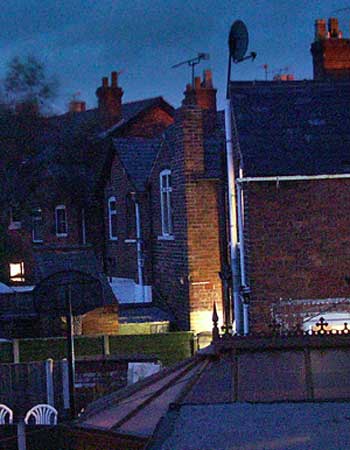
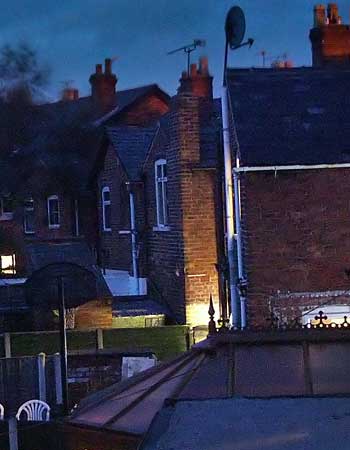
The
night image on the left was taken in almost pitch black lighting. It is a PS composite
of a 1 sec and 4 sec exposures at f2.8. The shorter exposure covering the sky
and lit windows.
ASA
was 400 and the resultant noise was cleaned up in Neat Image the before and after
images below
So
far so good. I will checking the A1 for action photography at a Premier league
game next weekend (see below) and doing more night , infra red and time lapse
photography soon. The anti-shake function works quite well while focussing is
quite fast. The new controls are well positioned and the EVF far far better than
the 7. I have only had the camera a short while so I'll be adding to this over
the next few weeks. Magnification of above images refers to Navigator in PS.
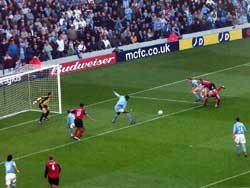
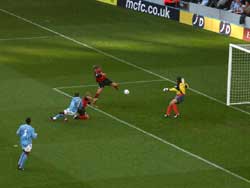
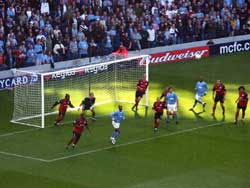
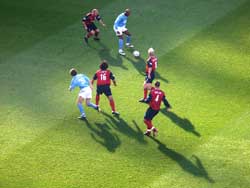
Here
is a sample of images taken at the Manchester City v Bolton Premier league game.
All images were taken with the 200mm focal length on the A1. All images suffered
through having to shoot into the sun and had to be post processed in PS. Some
were taken in the high continous shooting mode. All with auto focussing and some
have been cropped.
For
those interested there are many more images done with the Dimage 7 and A1 on my
soccer pages - direct link -
http://www.rtfract.com/rtcity.htm
only recent images are done with the A1.
Time
Lapse
I
have been doing some experiments in Time Lapse photography using the Dimage A1.
Because the existing internal time lapse settings are totally unsuitable for cloud
time lapse for my first experiment for the M6 sequence I just pressed the shutter
release button on the camera which was firmly entrenched on a tripod. I use the
640 x 480 resolution saved at the smallest jpeg. I was able to get 30 images per
minute - every two seconds or so. However it is a bit of a nuisance so now I have
got a remote control lead and for the second sequence at Chatsworth I was able
to manually release the shutter from a distance away from the camera and obviate
the possibility of any camera movement. I am now awaiting the release of the new
Dimage 'capture' software but from what I gather from Minolta this no better with
the time lapse settings. Pity - as with the lowest settings the camera is capable
of a continuous stream of images at about 30 a minute.
I
am afraid in order to keep file sizes down they are quite small but you will get
the idea
Went
to Focus at the NEC Birmingham to have a look at the new A2 and the new Minolta
converters. The A2 looks OK with some nice features. The EVF is certainly better
than the A1 one and the general resolution is higher (8 million pixels).
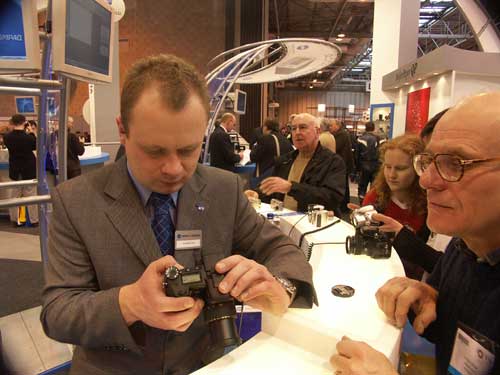
Image
on the left is from the new .8 converter - takes it down from 28mm to 24mm. There
is a small amount of vignetting but this may have been due to my UV filter which
was still on my A1. It is very sharp even at f3.5. One could easily read the name
badge on the rep's jacket.
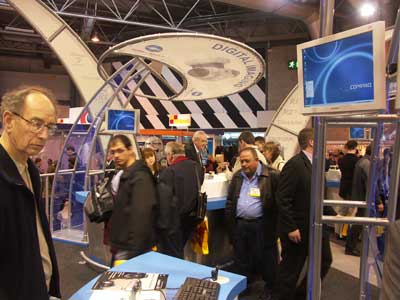
Below
are images without and with the .8 WA converter to give you some idea of the coverage.
Original image below left taken with the setting at 28mm 100asa f3.5 1/30sec
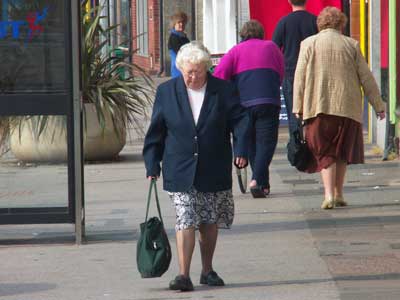
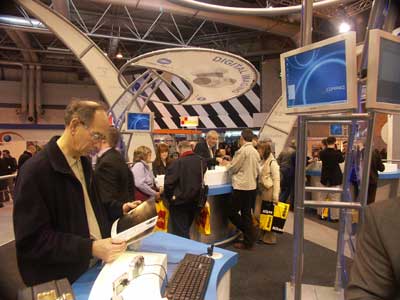
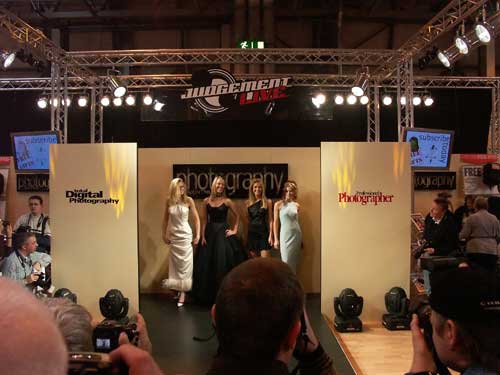
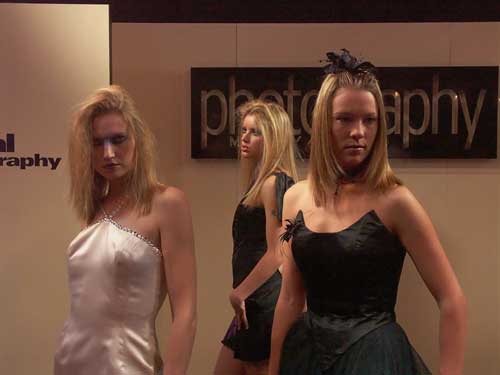
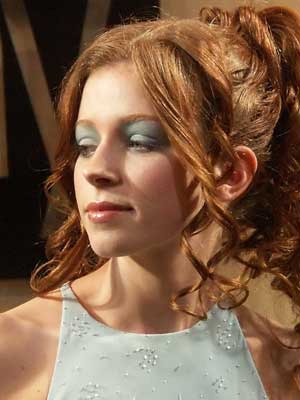
The
images of the models below and left illustrate the usefulness of the flexible
LCD on the A1. I just raised one hand above the big crowd around the stand and
shot a few images at 400 asa 1/300 at f3.5 in available light. Any noise was corrected
in NoiseNinja
www.picturecode.com